For this effect, quality of your photo is not critically important. You will need to be sure that you have good contrast in the photo, though, and you may need to do a little retouching.
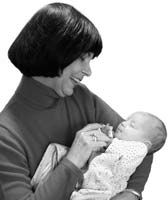
- Open your photo file.
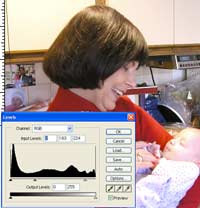
- Click the Create a New Adjustment Layer button at the bottom of the Layers palette. Choose Levels.
- Adjust the levels so that you have sharp contrast in your photo.
- Retouch out any glaring defects, using the Clone Stamp or the Healing Brush tool. The small details of the photo, like skin texture, will not matter in your result, so there is no need to be meticulous here.
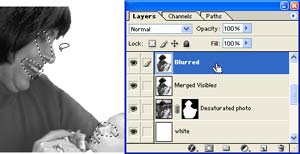
- Create another new Adjustment layer, this time for Hue/Saturation. Pull the saturation slider to the far left, removing all color.
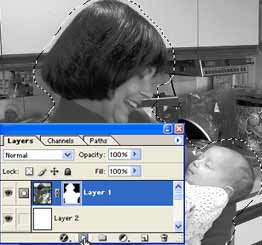
- Double-click the photo layer in the Layers palette to make it a regular (not background) layer.