 Amazing Gradients!
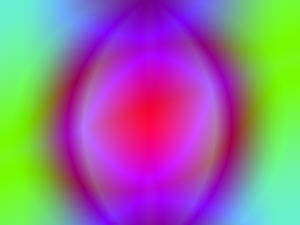
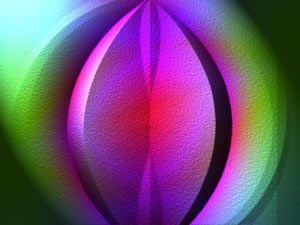
Gradients are cool tools which you can use to put in subtle changes in color, for example, for a background as I did here. When you combine gradient layers using Photoshop's blending modes, you can also use gradients to take yourself on wild flights of fancy which I call "Gradations." That is what we will do here. Along the way, you will learn/practice the following techniques:
- Use the Gradient Option Bar.
- Create different kinds of gradients.
- Apply Layer Blending Modes.
- (Optional) Use Lighting Effects.
|

This tutorial was done with Photoshop Version 6, but there are few, if any, differences for later versions. For older versions, the gradient options are in a palette and look somewhat different.
|
|
 1. File
-> New .. Make your background white and your canvas 600 x 450 if you want it the same size as mine. Square canvases actually work better for this sort of play. You'll need it to be in RGB mode. 1. File
-> New .. Make your background white and your canvas 600 x 450 if you want it the same size as mine. Square canvases actually work better for this sort of play. You'll need it to be in RGB mode.
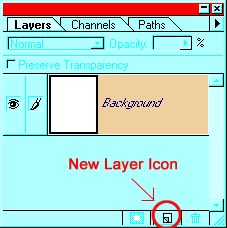
2. Click the new layer icon at the bottom of the layers palette next to the trash can to start this on a blank new layer.
3. Click the Gradient tool in the toolbar (in red in the toolbar to the left). In PS6, you will see the option bar come out across the top and you can see all of the available gradient options. Choose the linear gradient tool and the Foreground to Background gradient.
|
 |
|
|
|
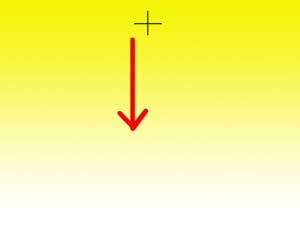
4. Choose your
favorite color* and drag a linear gradient from the top to the bottom of
your canvas.
Think of a name for your file and File -> Save as... and put it in the appropriate folder. (I do hope you are keeping your things in folders; otherwise you will have a big mess as you do more projects!)
* You will not break anything if you use different colors, different gradient styles, or even different blending modes from the ones i use here. I encourage you to be different! If you do everything just as i have done, you will get a similar result.
|
 |
|
5. Make a new layer.
Use the same color and drag a diagonal gradient from one corner to the
opposite one. Right under the layers tab in the layers palette is a
little drop-down box. (where it says "normal" in my palette to
the right) Those are the layer blending modes. Choose Difference.
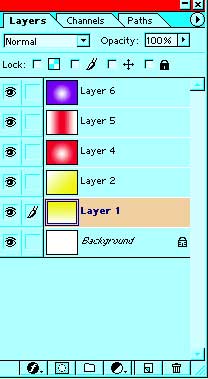
6. Make a third layer. Change colors and do a radial gradient from the center outward as I did with my white and red gradient to the right in Layer 4. (You can check the "Reverse" box in the gradient options to make it white -> red instead of red -> white.) Change the blending mode of this layer to Difference too.
File -> Save.
7. Use the same color for the next layer, using a Reflected Gradient as i did for Layer 5 to the right. Change the blending mode to Difference.
By now you should be getting a feeling for what the difference blending mode does. Actually what it is doing is using a mathematical algorithm to calculate the resulting color. For each pixel, it takes the colors in the new layer and the composite of what is there already and calculates which corresponding pixel has the greater brightness value and then it "subtracts" the smaller from the larger. When one of the layers is white, the colors of the other are inverted; when one is black, there is no change. The result, as you see, can be beautiful and surprising! (Read more on Blending Modes.)
|
 |
|
When you get something
that you want to send to Aunt Maurine, File -> Save a Copy (or File
-> Save for Web if you have v. 6) See more
on saving files.
8. So far you have just looked at results from using one blending mode. So try the others! Click the eyes for all but your bottom two gradients and then go through all the blending modes and see what they do. (Not much if you are just dealing with one color.) So then return layer 2 to difference mode and do the same with the next layer. Color burn sometimes comes up with some neat effects. So does Color dodge and .. well.. try 'em!
File -> Save.
|
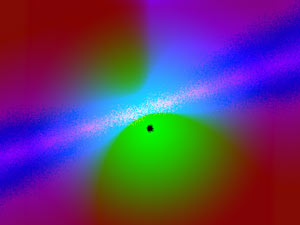
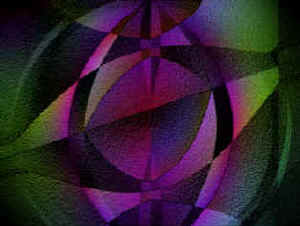
This result came from using difference mode on layer 2 and 6 and using dodge on 4 and burn on 5.
|
|
|
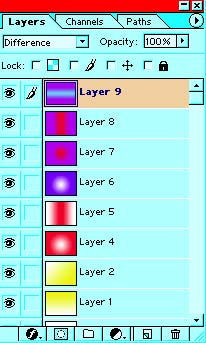 |
This result came from using the layers you see to the left.
Layers 2, 4, 5, 6, 7, 9 are in difference mode; 8 is in dodge mode.
|
|
If you want to go
on...
you can go even crazier. Add more layers, different sorts of gradients,
different blending modes and you can make an endless array of
beautifully funky pieces. Add twirls and shears and other filters,
and the possibilities expand exponentially!
One thing that I like to do in Photoshop (This part won't work with Elements.) is to use lighting effects to give it a 3D look. Here's how:
|
|
|
A. When
you get to a version that you really like, Layer -> Merge
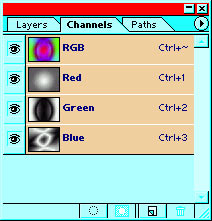
Visible. Click the Channels tab.
Ctrl-click on one of the color channels. I did
green. This loads it as a selection. While the ants are running around,
click the New Channel icon next to the trash. Then alt-backspace to fill
the selected area with white. Notice that this effectively copies that
color channel into an alpha channel. Ctrl-d to deselect.
File -> Save.
B. Click the RGB channel and then the layers tab to go back there.
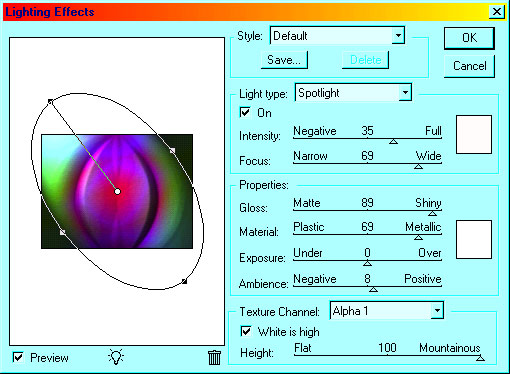
C. Filter -> Render -> Lighting Effects... Choose the Alpha channel for your Texture Channel. Here are the settings that I used for the effect below left.
|
 |
|
|
 |
|
|
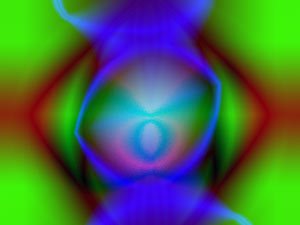
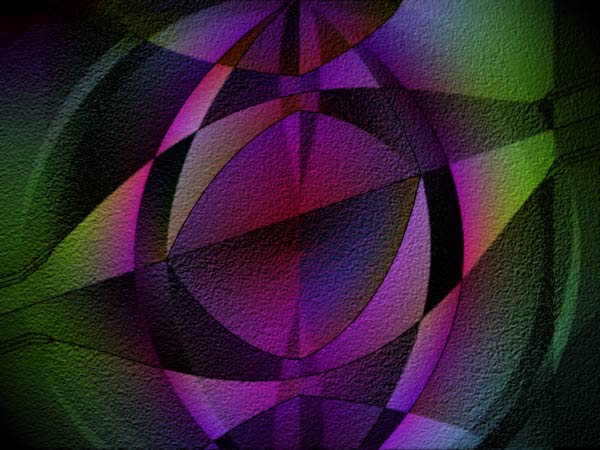
To the right is my
result from rendering lighting effects through the blue channel and then
through the green channel. I made my alpha channels for both blue and
green before rendering it the first time.
I hope you had fun working through this tutorial and that this inspires you waste many evenings in this fun! <g>

|
 |
|
Here are some more of
my Gradations.
|
|
|
