Spirals Spirals
See my NEW Spiral tutorial HERE!
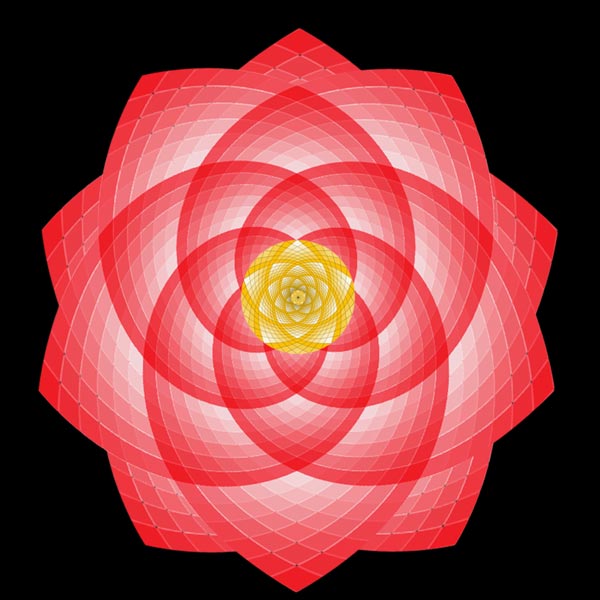
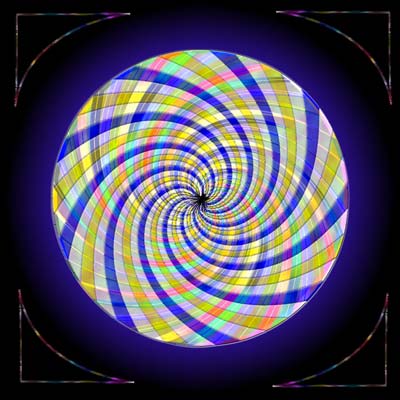
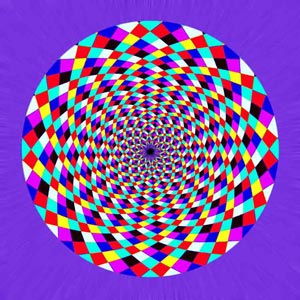
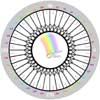
Does Photoshop sometimes make you dizzy? In this fun tutorial you will make a design that may induce actual dizziness -- one like mine to the right.
In this tutorial, you will be taking advantage of some of Photoshop's mathematical algorithms. In other words, you will be making something that is very beautiful because of its mathematical precision, but you don't have to do the math. PS does it for you! YAY!
|

As you progress through this tutorial, you will practice some interesting and useful procedures in Photoshop:
- Making straight lines with your paintbrush.
- Making and duplicating layers.
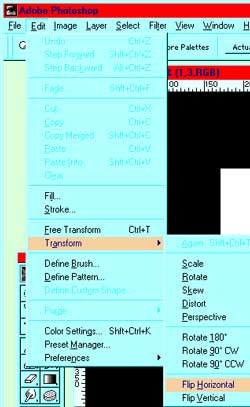
- Using transformations.
- Using the paint bucket to fill.
- Using a distortion filter.
- Using layer blending modes.
This tutorial was written with v. 6.01, but I know that it will work with version 5.* as well.
|
|
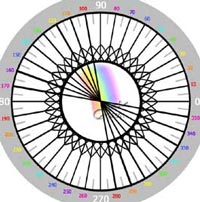
1. To begin, go get my Protractor. Put it into RGB Mode. Image > Mode > RGB.
2. File -> New.. and make it 1000 x 1000 pixels. Choose your move tool and then hold the Shift key as you drag the protractor onto your new file. (What does it do to hold the Shift key down for this?)
Now what you want is evenly-spaced black lines all intersecting at the center of your canvas. You want them to be straight and in order to have them evenly spaced, you need to make them at intervals that divide evenly into 360. I made mine at 10° intervals. Here's how I did it:
|
Get Protractor
|
|
3. Click the New Layer icon at the bottom of the layers palette so that you are working on a new layer. Select your paintbrush in your tools palette and, in the options bar, choose a paintbrush that is 2 pixels wide. Make sure that black is your foreground color.
Click your brush at the 170 mark on the black ring of the progractor and then HOLD SHIFT and click again over on the 350.
|
 |
|
3. Do the same at 160 and 340. Continue on up till you have 100 and 280.
4. File -> Save as... and save your file under a sensible name and in a sensible place. Leave it in psd format.
|
|
|
Now you are going to use Photoshop's duplication and transformation capabilities to make the rest of your lines. (You could actually do all of this without the protractor, by using duplication and rotation. That is how i made the protractor to start with!)
4. In the Layers Palette, drag your lines layer down to the New Layer icon to duplicate it.
Now, what do you need to do to this new layer to give your lines in the other two quadrants?? (See at right.) Are there other ways to do this?
Ctrl-s to Save.
|
 |
|
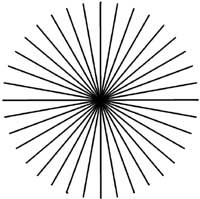
5. Finish your "spokes." First choose one of your line layers and then click with the paintbrush on the 0 and then hold shift and click on the 180. Then do the same with the 90 and the 270. Your result at this point should look something like mine to the right. With your top spoke layer selected in the layers palette, Ctrl-e to merge down. This merges the two spoke layers.
Ctrl-s to Save.
|
 |
| 6. On the spoke layer, make a circle border around the outside of your spokes. As with everything in PS, there are at least 3 ways to do this. Before you continue reading, look away from this tutorial and think of at least 2 ways to do this.
I'll use my favorite way:
> Put the mouse pointer in the very center of the spokes and choose the Elliptical Marquee tool in the toolbar (under the rectangular marquee (upper left)).
> Hold the alt and shift keys down and drag out from the center. Be sure that your circle is not outside of any of the spokes. If there are spokes sticking out from the rim, this is ok though.
> Edit -> Stroke. Tick off the "inside" radio button, choose black, and 2 pixels.
Ctrl-s to Save.
Next, we will use the selection to "clean up" the extra little line chunks that are outside of the ring. Select -> inverse. Then click on the spokes layer in the layers palette. Hit the Delete key. Ctrl-d to deselect.
|
|
Questions
1) What does it do to use the shift key when you drag out your ellipse?
2) What does the alt key do when you drag out your ellipse?
3) What would happen if you held the shift-alt keys down and dragged out a rectangle?
(If you don't know the answers to these, do them! This will be on the exam.)
|
|
7. Color the segments. Again, there are several ways to do this. Let's use the paint bucket as shown just below. If you are doing this painting on a new layer, make sure that you have "Contiguous" and "Use All Layers" checked in the Options bar. Anti-alias should be checked, or you will end up with jaggy paint borders. Tolerance should be at a pretty low level, maybe 5 or 10.
|
|
|
|
What's Wrong??
If your paint bucket paints the whole canvas, eeek! <g>
Don't panic! Instead, realize that your paint bucket is just doing as you told it. What it does is to act as a Magic Wand and a fill tool. That is.. when you click within a region, PS hunts for all of the areas that are close enough in color to where you clicked, in accordance with the tolerance you have chosen.
But instead of just selecting this area, as the Magic Wand does, the Paintbucket will fill the region with the foreground color. So, if the paintbucket fills the whole canvas, go back and have a look at what you are asking PS to do.
- If you are painting on a new layer, and you have Use All Layers unchecked, then the paintbucket will fill all the areas that are now white... on your layer... that is, the whole canvas! So check Use All Layers.
- If you have Contiguous unchecked, then it will fill all the white areas, regardless of whether they are contiguous (touching) the area where you click. So check Contiguous.
- Be sure that the region you are trying to fill is surrounded by the black border line. If there is even a tiny break in the line, your fill will "leak out" onto the whole canvas!
|
|
|
If you are going to have white segments as i do, you have to color them too. Remember the white that is showing now on your canvas is just your background.
If you are not getting enough of the segment, if there is too much gray in the center, then you may want to sharpen your spokes first. (Filter -> Sharpen -> Unsharp Mask.) You can also increase the tolerance on the paintcan in its option bar.
|
| 8. Duplicate this layer by dragging it to the New Layer icon in the Layers Palette. You may want to have a copy like this later. Turn off the eye in the layers palette for this duped layer.
Ctrl-s to Save.
|
 |
|
9. Now to twirl it.
Filter -> Distort -> Twirl ... and pick a value. I used 202 for mine. Then click OK.
If, for some reason, your center of your twirl is not at the center of your object, be sure that your object is centered on your canvas and try again. If it still doesn't work, then save your file, close Photoshop, and reopen it. (File -> Open Recent)
10. Duplicate this layer by dragging it to the new layer icon in the layers palette.
Ctrl-s to Save.
11. Now take the topmost of the two layers you just duplicated and twirl it the other way. How? Think about it. Is there more than one way?
If you want, hover over the image on the right to find out how I did it.
|
 |
|
|
 |
12. Ok, now we will combine the two layers! There are many ways to do this and I want you to experiment and try different things at this point. Here are a few ideas:
- Lower the opacity of the top layer using the slider at the top of the layers palette.
- Change the layer blending mode (at the top of the Layers palette) to Multiply.
- Try all the layer blending modes on the top layer.
- Turn on the layer that you duped in step 8 and then try different layer blending modes on the two layers above it.
- Add a hue/saturation adjustment layer to one of the layers and change its color.
- Come up with something original and write down what you did.. File -> Save for web. Make your image 400 x 400 and 60K or less. Send it to me in an email.
|
|
|
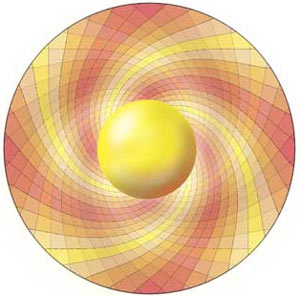
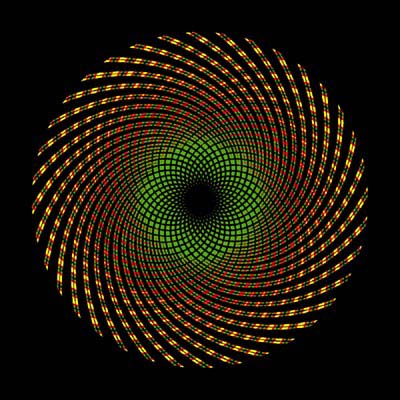
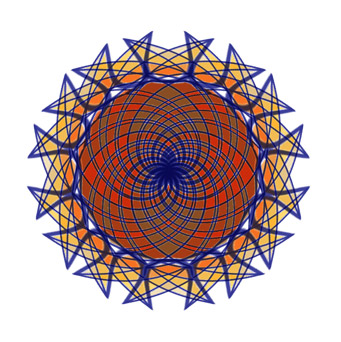
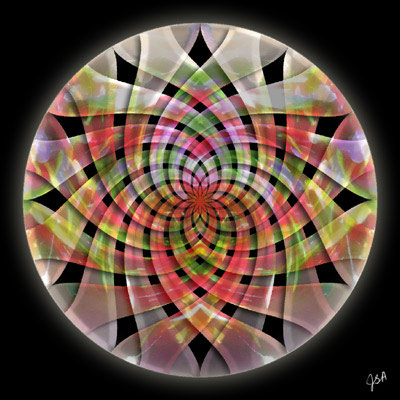
Here are some more that I did:
|
|
|
|
|
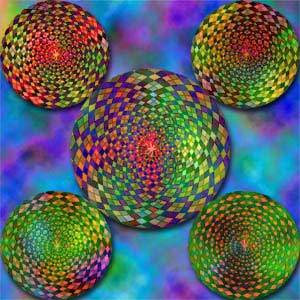
And here are some that my students have done! DO click these thumbnails! These small pics don't do these artists justice at all!
|
|
|
|