 Fixing Demonic Pet Eyes Fixing Demonic Pet Eyes
As you work through this tutorial, in addition to learning how to get rid of those yellow eye reflections in your beloved pet's eyes, you will get practice on several key Photoshop operations:
- Using the magic wand tool to select.
- Using layers.
- Painting. :)
- Using the rubberstamp tool.
|

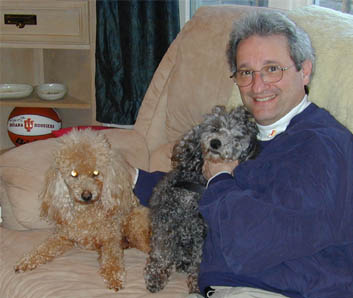
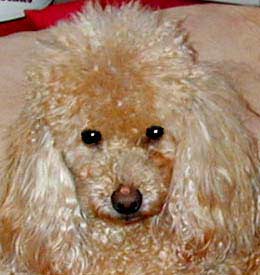
BEFORE manipulation
|
| So you are stuck with these glowing eyes... What do you do now? The solution will depend upon the seriousness of the problem. Sometimes the entire eye can be wiped out, as it is here with Penny's eyes. Since her eyes are very dark, really practically black, i am just going to make them black here. You may have to reproduce "whites" or the iris of the eye. Or sometimes the lids will even be obliterated by the glow. You can fix any of this, using this method which i call... "brute force." |
Preventing red/green-eye
That glowy spooky look in your pets' eyes is from the reflection of your flash from the backs of their retinas. The closer your flash is to your lens, the worse this will be. This is why it tends to be worse in digital cams, where the flash is often right on TOP of the lens.
You can lessen this effect somewhat by having the room brighter to start with, so that the subject's eyes are not so dilated. Using studio lighting is another way around it, though that is hardly a practical solution in the average household. (Hold still, Rover, while i go and get my umbrella reflectors!)
|
| 1. Use the magic wand tool to select all the glowing parts of Penny's eyes. Hold the shift key down to add to your selection as you go.
2. Make a NEW LAYER to make your actual changes on your eyes. (For this dog, the only visible colors for the eyes will be black and the little white catchlight. You may have to fill in the iris of the eye and then the pupil for other animal photos.)
3. Choose black and paint the selected areas. At this point it will look even worse than it did before. Well, maybe not worse... but not good, that's for sure!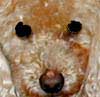
|
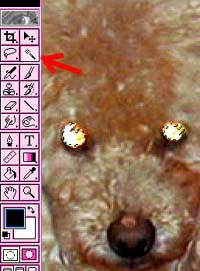 |
| 4. On two new layers, do the
pinpoint eye reflections with a white airbrush. I like to use a
different layer for each so that i can be free to move them around or
change them however i want to. The little white dot is what gives
whatever creature you are working with it personality, so be careful
with this part. If they are "off" a little, the animal won't
look the same. Truly!
Once you have the dots right, you can merge the three eye correction layers, if you need to.
|
 |
| 5. We need to fluff Penny's hair into her eyes just a wee bit. First, make copies of the two layers we are working with, in case you mess something up. Make the copies invisible by clicking the little eye beside them in the layer palette. Layer -> Merge Linked.
6. Use the rubberstamp tool to copy more of her hair down into her eyes a wee bit, just to take off that hard edge. Depending on the animal, you may need to paint in eyelids or you may be able to just smudge or blur around the edges of the eyes.
|
 |
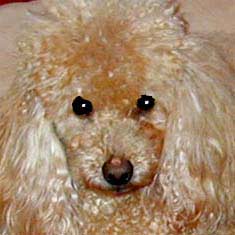
| 7. And we have our nice cute
normal little dog back! |
 |
(I also did some Levels adjustment to this photo, using a Levels Adjustment layer.)
|
|
More tutorials on photo retouching, restoring, and fixing:
 Changing a head Changing a head
 Basic Photo Restoration Basic Photo Restoration
|
|

