Text Tricks with Custom Brushes Text Tricks with Custom Brushes
in PS 7
In this tutorial, we'll look at how to make a text brush and several fun things to do with them. Parts of this tutorial are in Photoshop 7: Trade Secrets, published by Friends of ED.
Though I would not classify this as a "beginners' tutorial," you can do it even if you are a beginner. You may want to have your manual at hand, in case i throw out something with which you need a little more help. I will also include links to others of my tutorials which supply more detail on these procedures.
| 

|
|
Making a text brush.
- Type out a short piece of text in black. (More on text in PS)
- Size matters some for this, so change the size of the text (and the font), to approximately what you need. Too large is better than too small for this. Any color is fine.
- For any background layers behind the text, turn off the eye at the left side of the layers palette. The text should appear against a transparent background. Anything visible will be included in your new brush.
- Enclose your text in a rectangular marquee selection
|
 |
- Edit -> Define Brush .. and give your new brush a name. (More on making brushes.)
- Drag the text layer to the trash can in the layers palette, and turn the eye back on for the background layer. Ctrl-D to deselect.
|
Note: Sometimes Define Brush doesn't work. This is probably a RAM issue, because I can always solve it by saving the file, then closing and reopening it.
Another Note: If you make your brush in a lighter color than black, it will paint with a pale replica of the brush tip, and not with its full strength.
|
| Text Trail Effect.
This effect is fun and versatile, and there are surprisingly few steps to making it: Make a custom brush, create a path, and then stroke the path with your brush. You made the brush above. Now let's finish the effect:
Creating the path.
You can create a path that is simple or ornate, but for a text trail, you will probably have better results using a simple path. I describe here how to make the gentle curve in this example:
- Choose your pen tool (not the Freeform pen).
- In the Options bar, choose Paths in the first set of buttons.
- Click at the beginning of where you want your path to start and then again at the end.
|  |
- Choose the Convert Point tool from under your pen tool, in the toolbox.
- Click the Convert Point tool on one of the endpoints and drag out the Bezier handle.
- By pulling this handle around, you change the curve. Do the same with the other endpoint, if you want the line curved at that end, too. (More on this kind of path manipulation)
|  |
|
Stroking the path.
Keep in mind that, before you stroke a path, you have to remind Photoshop of what brush you want to use. If you do not define your brush, PS will stroke it with an icky choppy black line!
- Make a new layer. Be sure that it is active (clicked) in the Layers palette, and that it is visible.
- Choose the Brush tool (type the letter B).
| 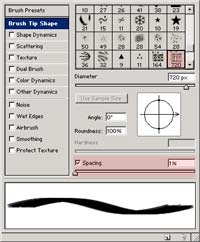 |
- In your Brushes palette, carefully choose your options. For the smooth trail effect, in the Brush Tip Shape, set spacing to 1%. For a plain-color trail, all other options should be off.
|
Tip: To set attributes for the Brush Options, you click on the NAME of the attribute on the left side of the Brush Options palette. (By default, my Brushes palette was in the docking well. If you don't see yours, click Window -> Brushes.)
|
- Choose your desired color in the Color Picker. (More on this)
- Click the tab for the Paths palette and you should see your path there. Click on it to make it active.
- Click on the Stroke Path button at the bottom of the Paths palette.
|
|
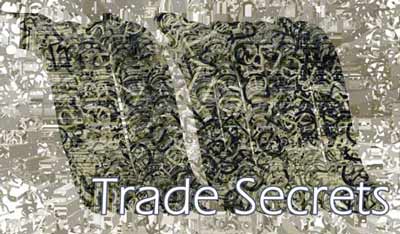
- Change colors and put a single click with your brush at the end of the trail. This made the black "Trade Secrets."
|  |
|
Experiment with different things to do with these paths.
Here I used red and black for foreground and background colors. Then in the Brush options, in Color Dynamics, I set Foreground to Background Jitter at 100%. (More on brush options)
|  |
|
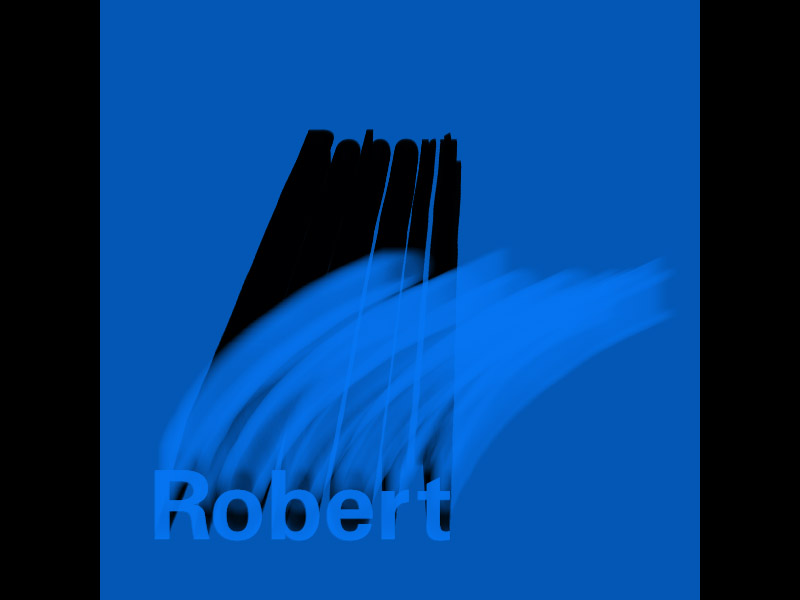
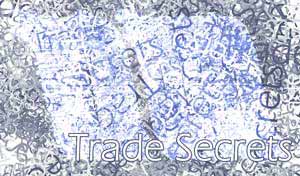
Splatter Text
To make this background, I used the same text brush that we just used to make the text trail. If you didn't do that part, read the section above on making the text brush.
|
 |
- In the Brush Options palette, set both Shape Dynamics -> Size and its Angle Jitters to 100% and check the box. (To change the attributes of one of these options, click on the NAME of the attribute.) (More on brush options)
- Color Dynamics should be checked, too, and set the Color Dynamics -> Foreground to Background Jitter to 100%.
- For the foreground and background colors, I used a dark blue and white.
- Make a new layer.
- Paint!
|
Tip: Don't paint a long time, when you are doing Splatter Text! It takes Photoshop a few seconds to catch up with you, especially if your brush tip is a big one and your RAM is taxed. A small stroke here can make a lot of splatter text!
|
|
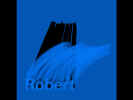
In this image, I began with the same trail as above. Then I reduced its opacity and placed the splatter text background behind it.
|
|
|
For this, I used the same layers as in brush004.tif. For the trail layer, I set opacity back to 100% and set the blending mode to Color Dodge.
|
 |
|
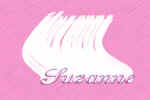
For the text trail in brush008, I used Color Dynamics -> Foreground to Background Color Jitter set at 100%.
The background used the same 100% foreground to background color jitter, but adds a wide scatter (under Scattering in the list on the left), and Shape Dynamics -> Size Jitter set to 100%, for a lighter splatter text effect.
|
 |
|
I like the example just below the best!
- I started with the text and text trail of brush008, just above, and the splatter text background in brush004.
- I set the blending mode for the text trail to Difference.
- Then I wanted to make the background a bit funky to coordinate with the trail. To do this, I selected the background that is not behind the text trail. (Ctrl-click the text trail layer. Then Select -> Inverse.) Then I copied this to its own layer with Ctrl-J. Filter -> Stylize -> Extrude .. Blocks.
- A Hue / Saturation adjustment layer enabled me to get just the right tones in there.
|
|
|
|
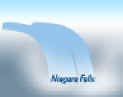
For brush009, below, I added the fade on the trail. I did this as follows:
- Click the trail layer in the Layers palette to make it active.
- Click the Add a Layer Mask button at the bottom of the layers palette.
- Make a black -> white gradient from the top down just a bit. For more of a gradual fade, make the gradient longer. To constrain your gradient to perfectly horizontal, as I did, hold the Shift key as you drag.
|
|
|
|
I hope you enjoyed this tutorial!
For another tutorial on custom brush tricks in PS 7, see this one:
 Copyright © Brush in PS 7 Copyright © Brush in PS 7

|
   |
|
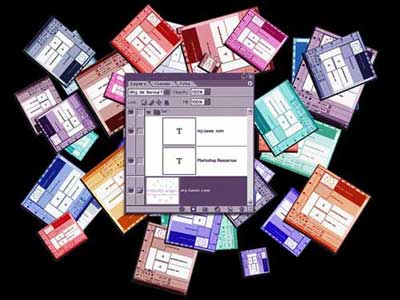
In this image, I didn't use a text brush, but i did use a special brush that i made. For this, I used a screenshot of a layers palette, just to prove that you can make anything into a brush. I used a hue jitter and a scatter. The way i made it so that these palettes have the white backing... i did several layers of them and put white backings on each of the layers. Maybe this would make a good tutorial on its own. :)
|